
HANGING HAT STORAGE
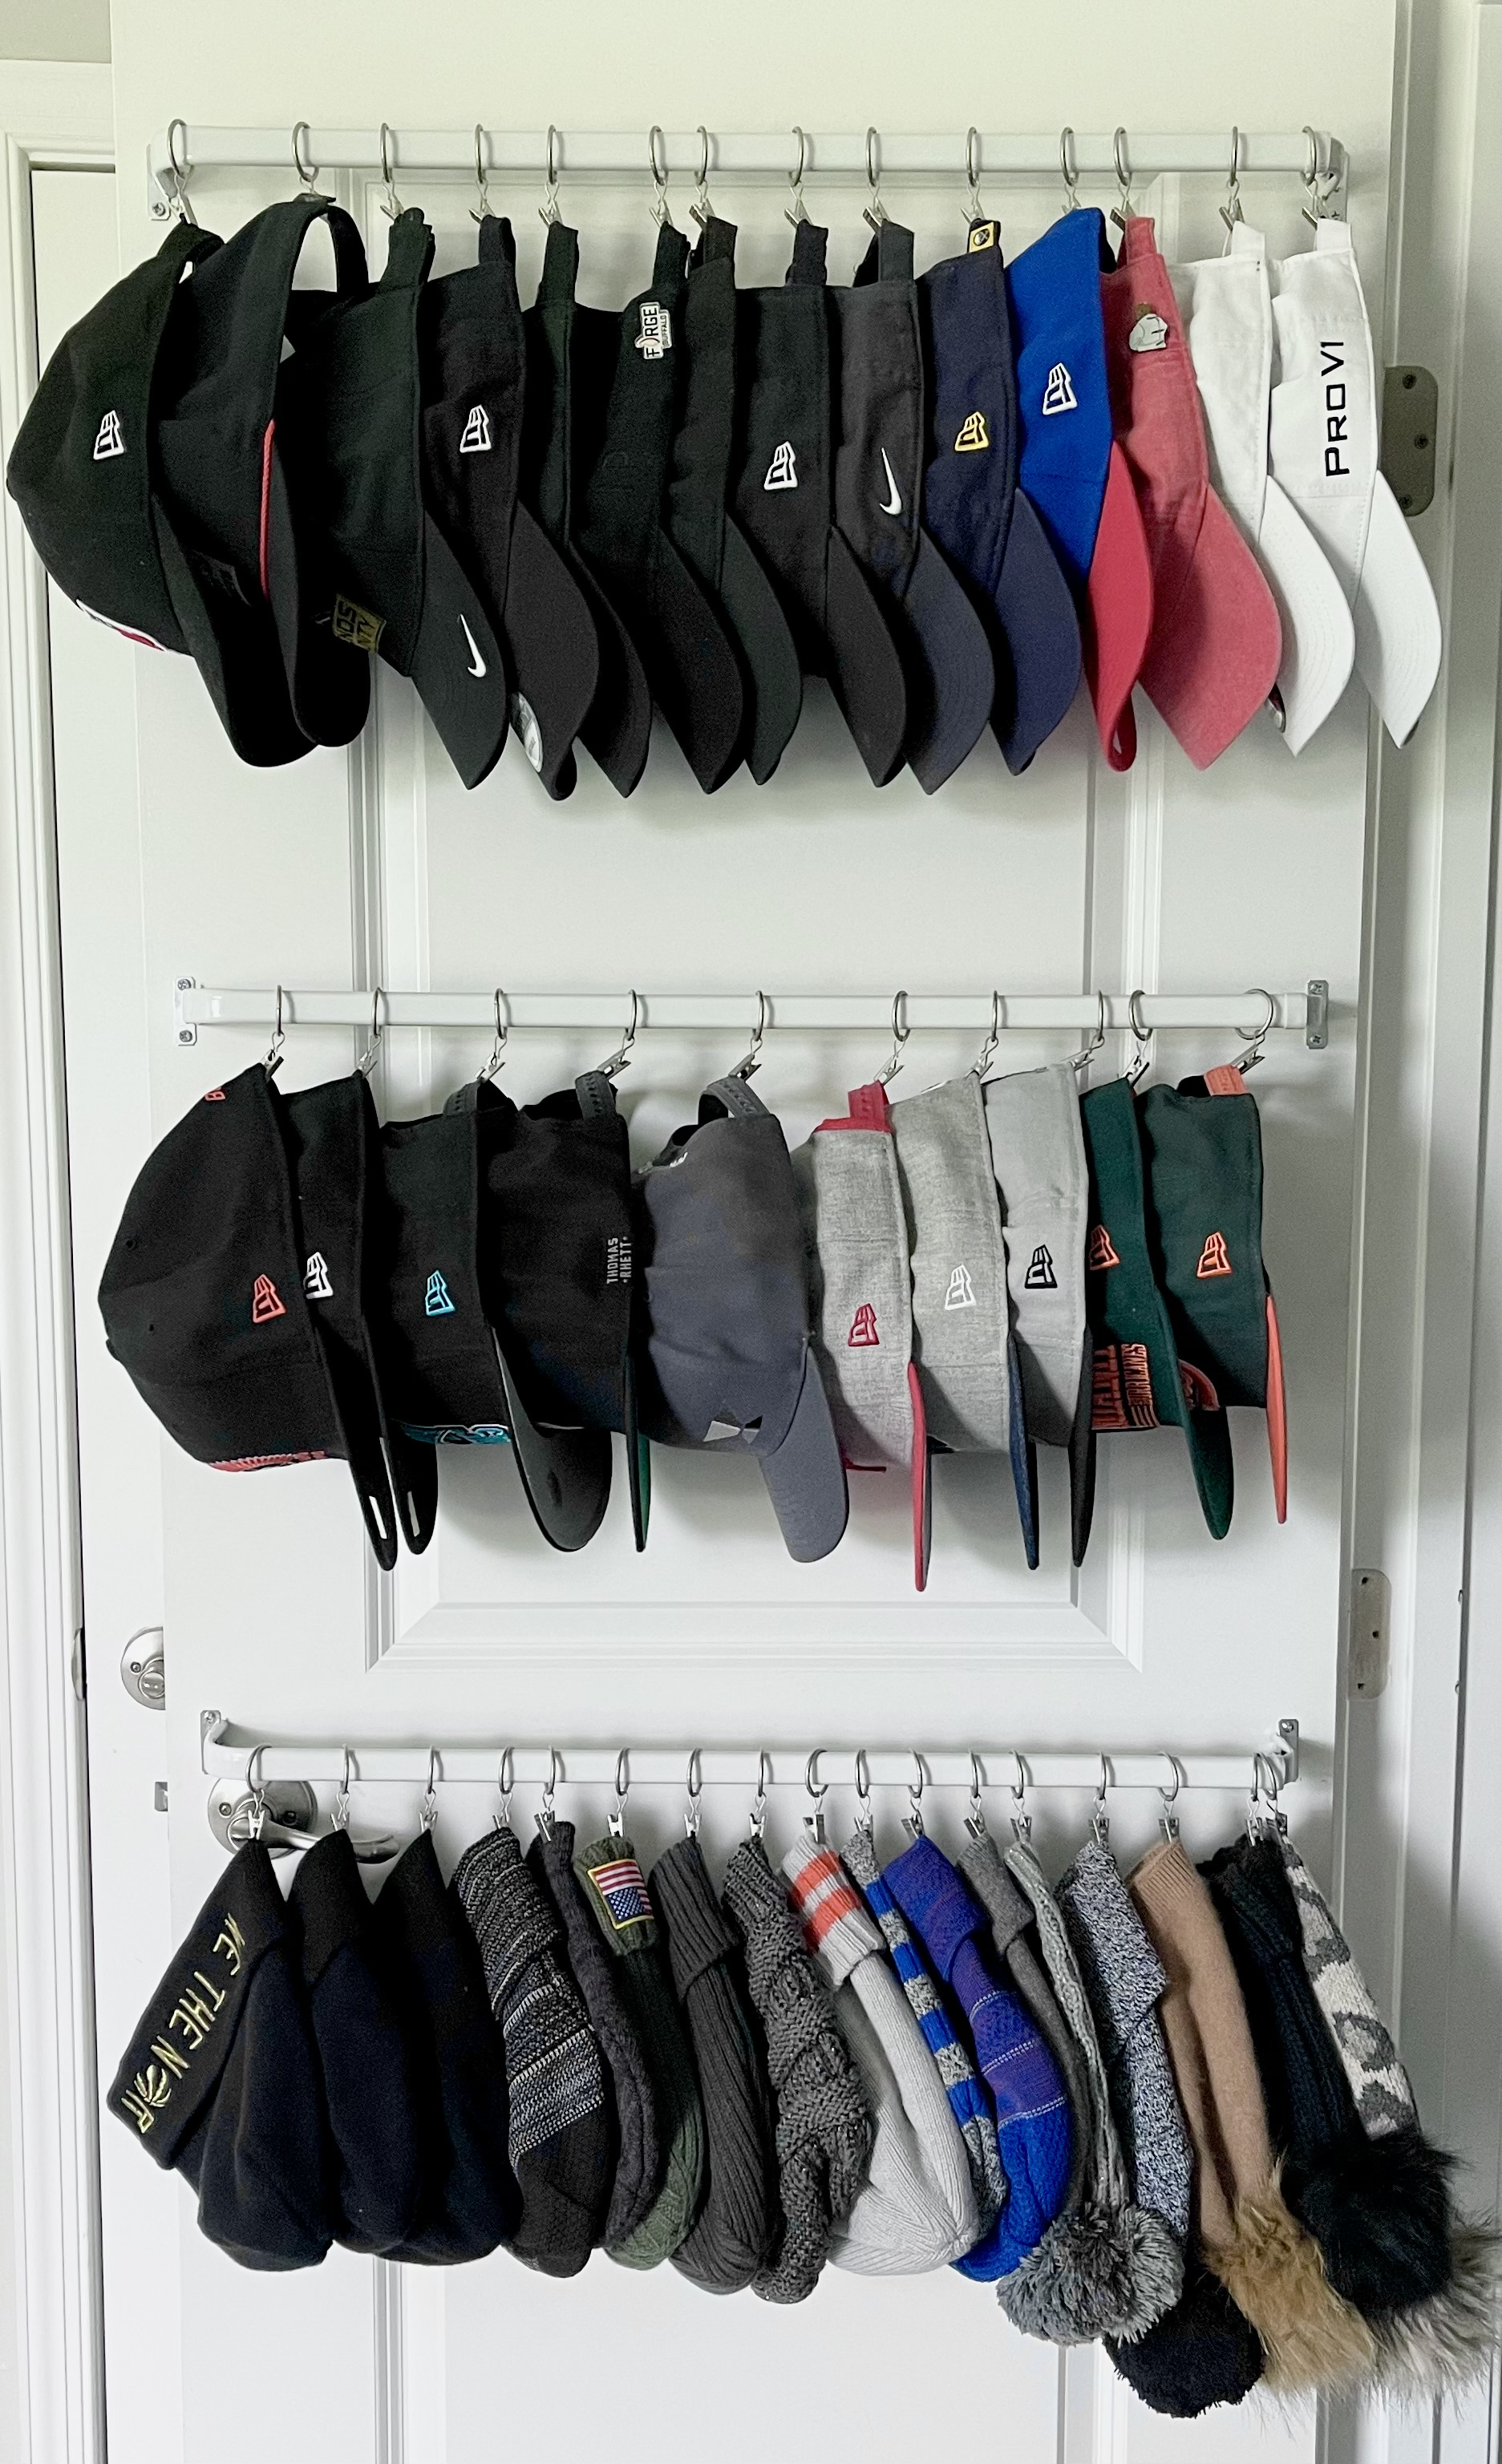
As I am sure many of you can relate to, my husband has a lot of hats. As his collection has grown over the years, so has the list of locations I can find them all over the house. I wanted a way to organize the ones he wears most often in a way that would be hidden from sight and also in one central location. I ended up installing curtain rods on the back of a door in a small closet in one of our extra bedrooms and hung the hats from them using curtain rings with clips. We were able to store a large amount of hats without using any additional space and it’s not visible when the doors is closed so it was a win, win!
This was a wildly inexpensive project (under $10!) that took very little time to complete but it had such a big impact. The coolest part about this is that you can add as many or as little rods as you want depending on your collection and since the rods pop on and off with ease, you can add more or less clips to your rods if your collection changes.
I’ll include the steps below but you can also watch a step-by-step video of the process over on my Instagram!
I started off with two curtain rods from Target (currently on sale for $1.50 each!) and marked the back of my door in pencil where I wanted the first rod to go. Make sure you measure your door to make sure it can accommodate the rod’s width. This one was perfect for mine but if your door was a smaller one, this rod might be too wide!

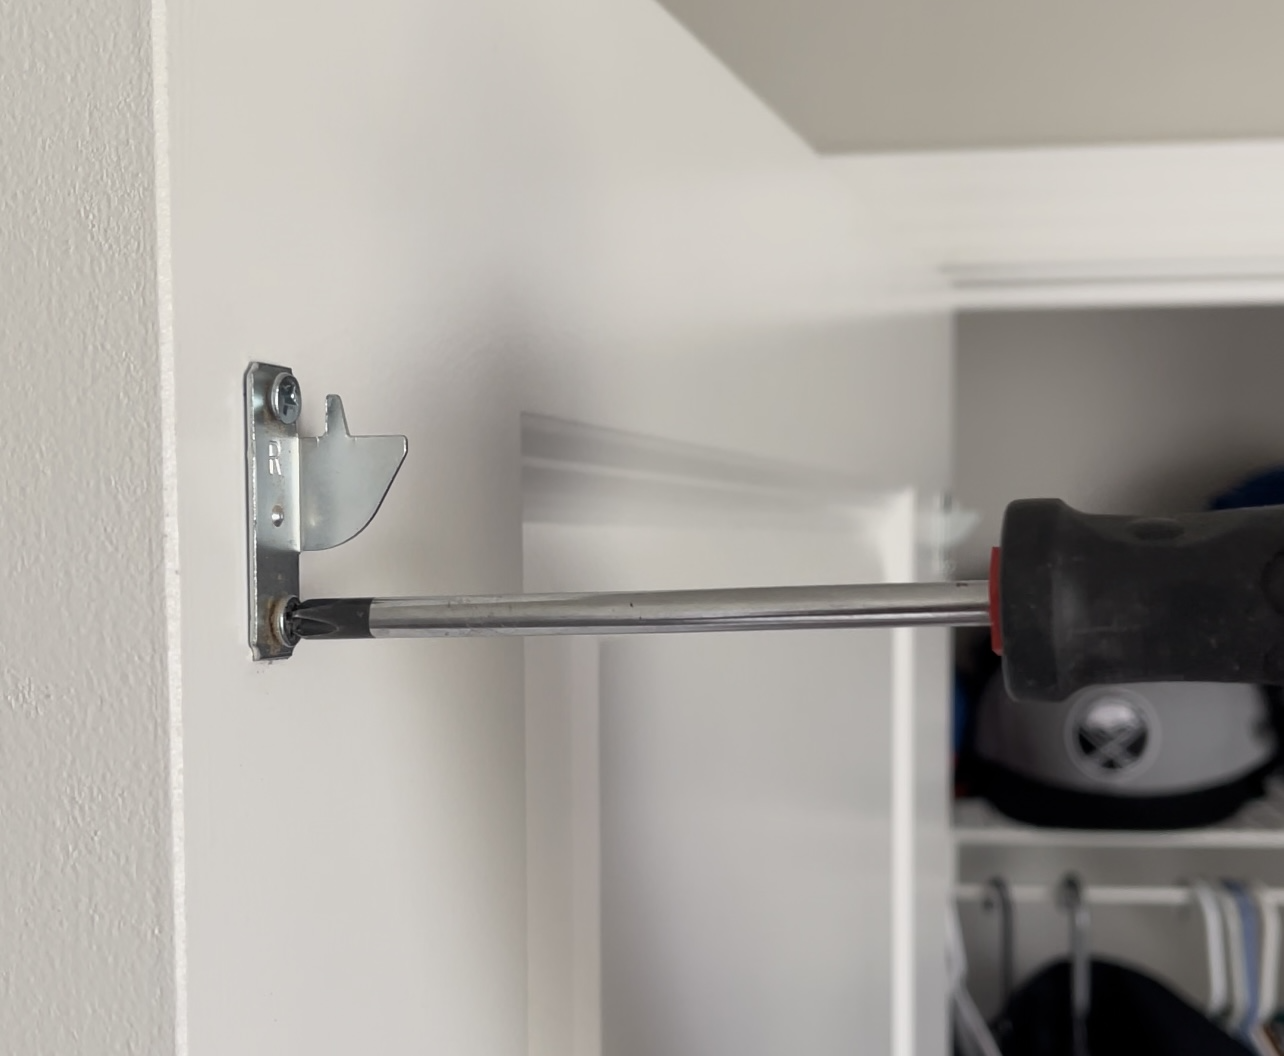
Next, using the pencil marks as my guide, I screwed the brackets that came with the rod into the back of the door. You might be able to use command strips for this part if you don’t want to screw in to your door but the rods do have a good weight to them once all the hats are on so I wasn’t sure if those would hold.
Next I took some of these rings with clips for hanging curtains and slide them on the rod before securing it to the brackets. The rod pops easily on and off the brackets so if you need to remove or add rings, it’s an easy process. I only ended up using about half of the pack for this project.

I added a row of hats to this rod so that I could determine where the second one should go. I repeated the process of marking with pencil, screwing on the brackets, adding rings to the rob, securing the rod to the brackets and added a second row of hats.

These two rods only covered the top half of the door, so you could easily all a third or fourth below them if you needed to. I was worried about the hats sliding to one end or the other or getting stuck in the door when I opened and shut it but they surprisingly stay in place well and don’t get in the way of the door at all.

I had about 20 of the clip rings left in my pack so I added a third rod in here for my winter hats as well. With their slim profile I was able to fit a ton of them on one rod!
